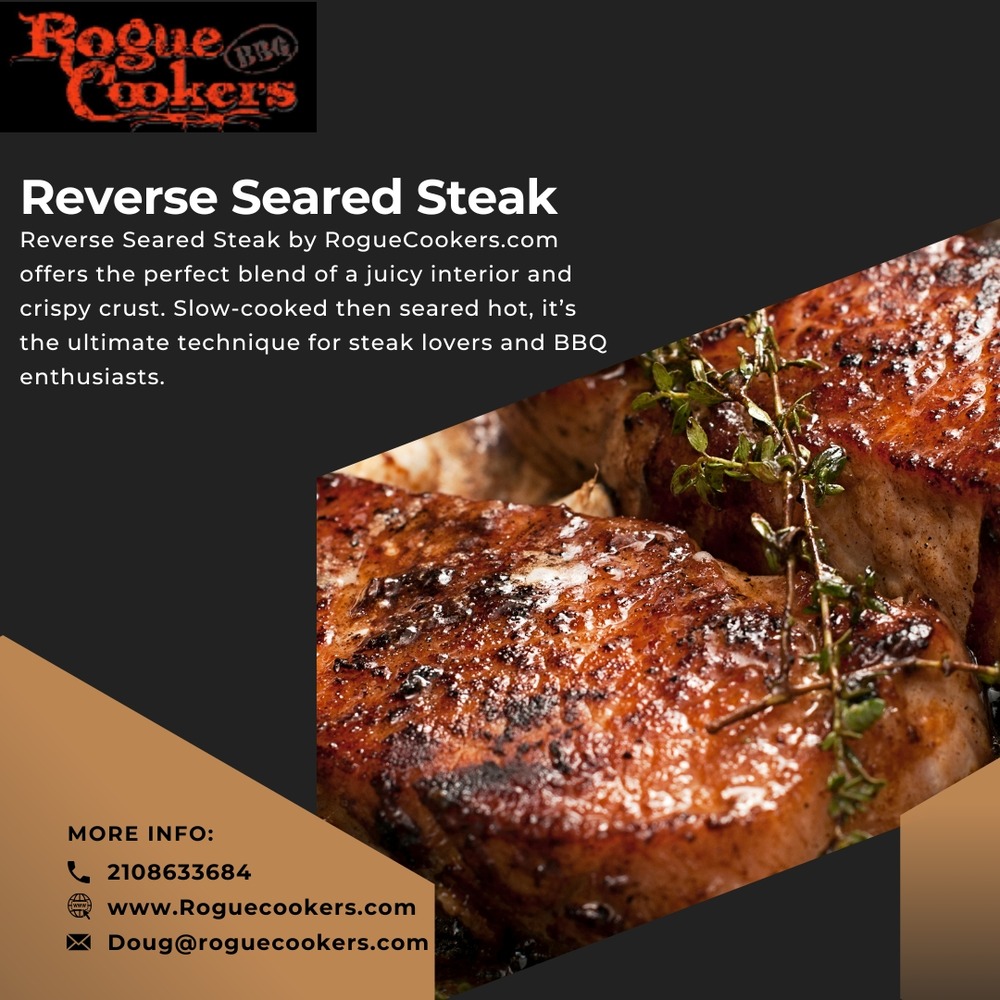
If you’re a steak lover searching for the perfect method to achieve restaurant-quality results at home, the answer lies in a technique that’s both simple and game-changing — Reverse Seared Steak. This cooking method has taken the BBQ and grilling world by storm, and for good reason. It provides the perfect balance of succulent within and exquisitely charred outside. Whether you’re an experienced backyard pitmaster or just diving into the world of premium grilling, reverse searing is something you need to try.
At Roguecookers.com, we live and breathe great BBQ, and nothing showcases your cooking skills better than a perfectly cooked steak. Let’s break down what reverse searing is, how to do it, and why it just might become your new go-to steak method.
What is Reverse Seared Steak?
A technique for cooking steak that reverses the conventional approach is called “reverse searing.” Instead of searing the steak first and then finishing it in the oven or grill, you start by cooking it slow and low to your desired internal temperature, and then finish it with a quick, high-heat sear to lock in the flavor and create that signature crust.
Whether you want medium, medium-rare, or rare, this method provides you exact control over doneness and guarantees equal cooking from edge to edge. It’s the secret to that beautiful pink interior with no gray overcooked edges.
How Does Reverse Searing Work?
A brief explanation of the reverse searing procedure is provided below:
Set the temperature of your smoker or oven to a low setting, often between 225°F and 275°F.
Season your steak generously with salt, pepper, or your favorite rub like Doug’s Dust from RogueCookers.com.
Place the steak in the oven or smoker until it reaches about 10–15°F below your target internal temperature (e.g., 115°F for medium-rare).
Let the steak rest for 5 to 10 minutes after taking it off the heat.
Heat a cast iron skillet, grill, or flat top to high heat (around 500°F).
The steak should have a rich, golden-brown crust after 1 to 2 minutes of searing on each side.
Let it sit a bit longer, then serve and enjoy!
Why You Should Try Reverse Seared Steak
Now that you know what reverse searing is, here’s why it’s worth giving a try:
1. Consistent Doneness from Edge to Edge
One of the most common problems with traditional searing is overcooking the outside while trying to get the inside to the right temperature. By bringing the steak up to temperature gradually and guaranteeing uniform cooking throughout, reverse searing eliminates this.
2. Better Flavor and Crust
Searing at the end — when the steak is already warm — means a quicker and more effective Maillard reaction (the process responsible for that tasty brown crust). The exterior will be more delicious and intense without compromising the internal juiciness.
3. More Control Over Cooking
Because you’re slowly raising the internal temperature, you have more time and control to monitor your steak. This makes it harder to overcook, especially for thick cuts like ribeyes or New York strips.
4. Perfect for Smoking or Grilling
If you love using your smoker or BBQ grill, reverse searing adds a layer of smoky flavor before locking in the juices with a sizzling finish. It is a great way to enhance your outdoor cooking.
Best Steaks for Reverse Searing
While you can use this method on almost any cut, it shines best with thicker steaks, typically 1.5 inches or more in thickness. Ideal cuts include:
Ribeye
Strip steak (New York strip)
Filet mignon
T-bone or Porterhouse
Tomahawk steak
At RogueCookers.com, we recommend using premium cuts paired with our custom rubs to truly bring out the best in your meat.
Tools You’ll Need
Reverse searing doesn’t require fancy equipment, but here are a few essentials:
Meat thermometer: Crucial for monitoring internal temperature
Smoker or oven: For the first slow cook
High-heat grill or cast iron skillet: For the last sear
Use tongs and a wire rack to properly handle and rest the meat for optimal texture and juiciness.
Tips from the Pitmasters at Rogue Cookers
Make use of a room-temperature steak: Before cooking, let the steak rest for 30 to 60 minutes outside of the refrigerator.
Season generously: Salt and pepper go a long way, but our signature Doug’s Dust adds an extra punch.
Rest before and after searing: Resting helps redistribute the juices and gives you the best texture.
Don’t forget the butter: A quick butter baste during the sear can add a rich, restaurant-style flavor.
Final Thoughts
Reverse seared steak isn’t just a trend — it’s a tried-and-true technique that delivers unbeatable results. With better control, more flavor, and consistently perfect doneness, it’s no wonder this method is beloved by home cooks and pro pitmasters alike.
Ready to step up your steak game? Explore tools, rubs, and expert BBQ tips at Roguecookers.com and discover why more people are switching to the reverse sear method. Your next steak night is about to get a serious upgrade.


